
Key Concepts and Takeaways
– Create a consistent branding style across your channel.
– Design an eye-catching channel banner that reflects your content.
– Use a professional logo for easy recognition.
– Write a clear and engaging channel description.
– Organize videos into playlists for better navigation.
– Use high-quality thumbnails to attract viewers.
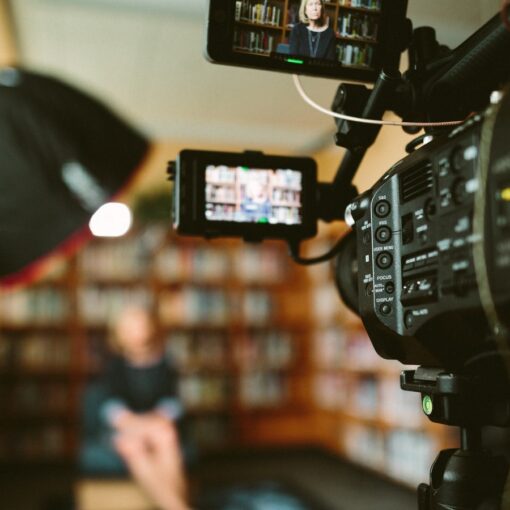
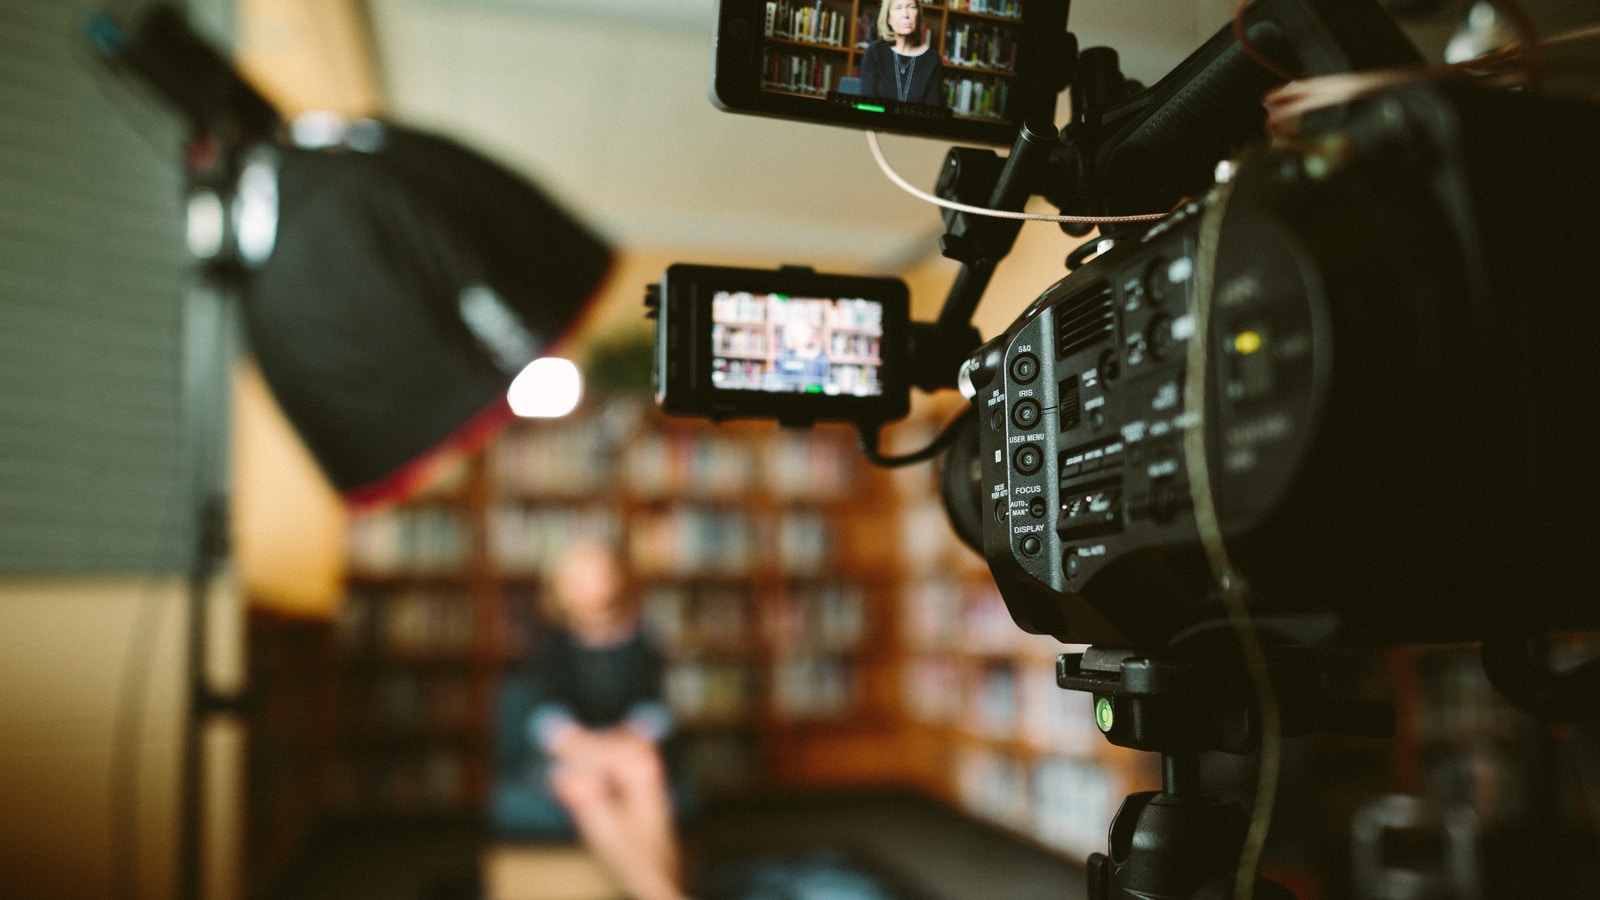
– Maintain consistent video quality and editing style.
– Add end screens and cards to promote other videos.
– Engage with your audience through comments and polls.
– Regularly update content to keep the channel fresh and relevant.

So, you’ve decided to take the plunge into the vast ocean of YouTube. Congratulations! It’s a wild ride filled with creative opportunities and the occasional cat video that distracts you for hours.
But before you dive in headfirst, let’s talk about how to make your channel shine like a diamond in a sea of pebbles. After all, nobody wants their hard work lost among the digital detritus, right?
The Importance of First Impressions
Picture this: you walk into a restaurant that looks like it hasn’t seen a broom since the last ice age. Would you stick around? Probably not. The same logic applies to your YouTube channel. If viewers land on a poorly designed page, they’re likely to click away faster than you can say “subscribe.”
When I first launched my own channel—filled with awkward attempts at humor and questionable lighting—I learned quickly that aesthetics matter. A professional-looking channel invites viewers in like an open door on a sunny day, while a cluttered mess sends them running for cover.
Crafting an Eye-Catching Banner
Let’s start with your banner; think of it as your channel’s calling card. This is prime real estate for branding! Use high-quality images and ensure your text is legible even on mobile devices (because let’s face it, everyone watches videos on their phones nowadays). Consider incorporating colors that reflect your personality or niche—whether it’s vibrant hues for cooking tutorials or sleek monochromes for tech reviews.
And if design isn’t your strong suit (and trust me, we all have our weaknesses), there are plenty of tools out there like Canva or Adobe Spark that can help you whip up something fabulous without needing an art degree.
Profile Picture Perfection
Next up: your profile picture. This little gem is often what viewers will see first when scrolling through content. Choose an image that represents you well—ideally one where you’re smiling and looking approachable. Think of it as your digital handshake; would you want to shake hands with someone who looks grumpy? I didn’t think so!
If you’re running a brand or business channel, consider using your logo instead—it conveys professionalism while also making it clear what you’re about.
Organizing Your Content
Now that you’ve got the visuals sorted out, let’s tackle organization because no one likes rummaging through piles of stuff looking for that elusive treasure chest…or video in this case! Utilize playlists to categorize content based on themes or topics; this helps viewers navigate easily and encourages binge-watching (which is basically the holy grail of YouTube).
I remember when I stumbled upon a travel vlogger whose videos were scattered haphazardly across their channel—it felt like wandering through an unkempt garden rather than enjoying beautiful landscapes! Don’t be that person; curate your content thoughtfully.
Engaging Thumbnails That Pop
Thumbnails are akin to book covers—they draw people in or push them away faster than bad puns at a comedy club. Create custom thumbnails featuring bold text and compelling imagery relevant to each video topic. Ensure they are visually consistent across all videos so viewers recognize your style immediately—a signature look goes a long way!
When I started experimenting with different thumbnail designs, I noticed my click-through rate increased dramatically. It was almost magical—like discovering chocolate chip cookies after years of eating plain oatmeal!
Consistency Is Key
Consistency isn’t just important in relationships; it’s vital for building an audience too! Establishing regular upload schedules helps set viewer expectations—like knowing when new episodes of your favorite series drop—and keeps them coming back for more.
In my experience, committing to posting once weekly made me feel accountable and encouraged me to produce quality content rather than scrambling last minute (which usually resulted in less-than-stellar videos).
Conclusion: Shine Bright Like a Star
Creating a professional-looking YouTube channel doesn’t require magic wands or fairy dust—just some effort and creativity! By focusing on key elements such as banners, profile pictures, organization, thumbnails, and consistency, you’ll attract more viewers than ever before.
Remember: every great journey begins with small steps—even if those steps include learning from mistakes along the way!
—
Suggested Resources
YouTube Creator Academy
https://creatoracademy.youtube.com/page/course/intro-to-youtube
Canva Design School
https://www.canva.com/learn/design-school/
VidIQ Blog
https://vidiq.com/blog/
Social Media Examiner
https://www.socialmediaexaminer.com/

Kevin Collier is a seasoned writer and technology enthusiast with a passion for exploring the latest industry trends. With a background in digital marketing and content creation, he brings insightful perspectives to imhits.com on emerging technologies, innovations, and their impact on everyday life. When he’s not writing, Kevin enjoys experimenting with new gadgets and sharing his knowledge with fellow tech aficionados.

